TranslateKit
How to Implement TranslateKit into your Shortcut
Last updated June 15, 2019
First, make sure you’ve downloaded TranslateKit and added it to your Shortcuts library.
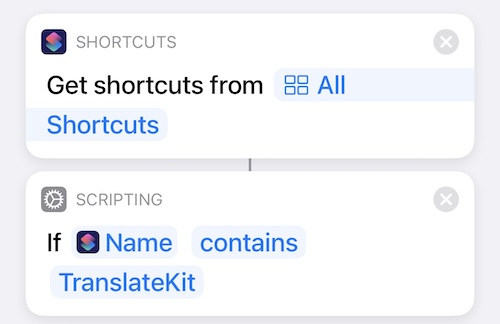
The first step, like with all dependencies, is to check to make sure the user of your Shortcut has TranslateKit added to their library.
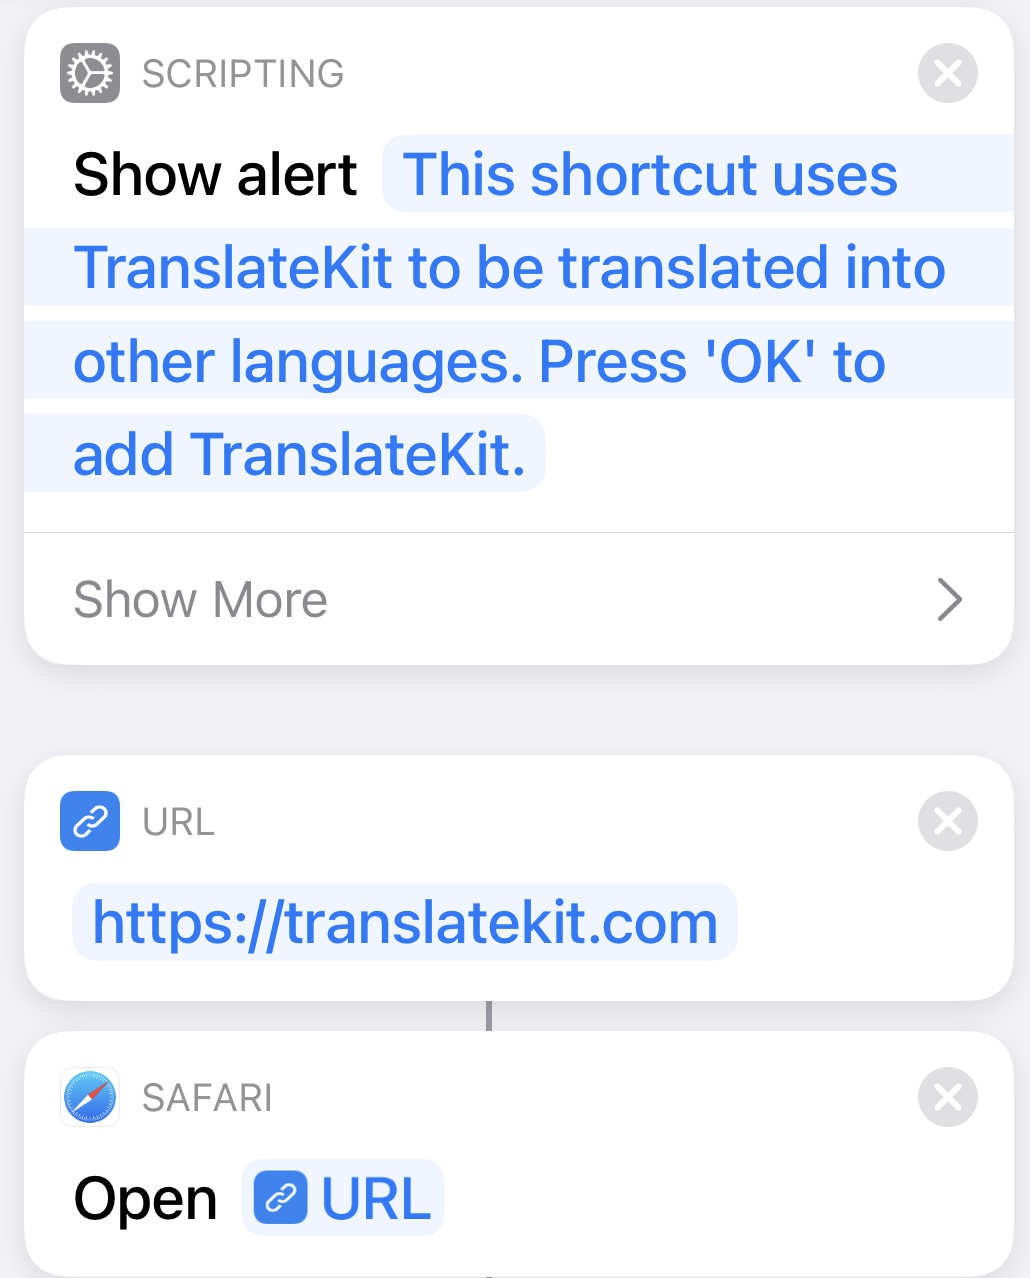
First, lets focus on the Otherwise. If they don’t have TranslateKit, use a Show Alert action letting the user know this Shortcut requires TranslateKit and they need to add it to their library.
Use a URL action with the Open URLs action following it to open translatekit.com where they can download TranslateKit. Allow a cancel button on the alert so the user is not forced to navigate to the URL.
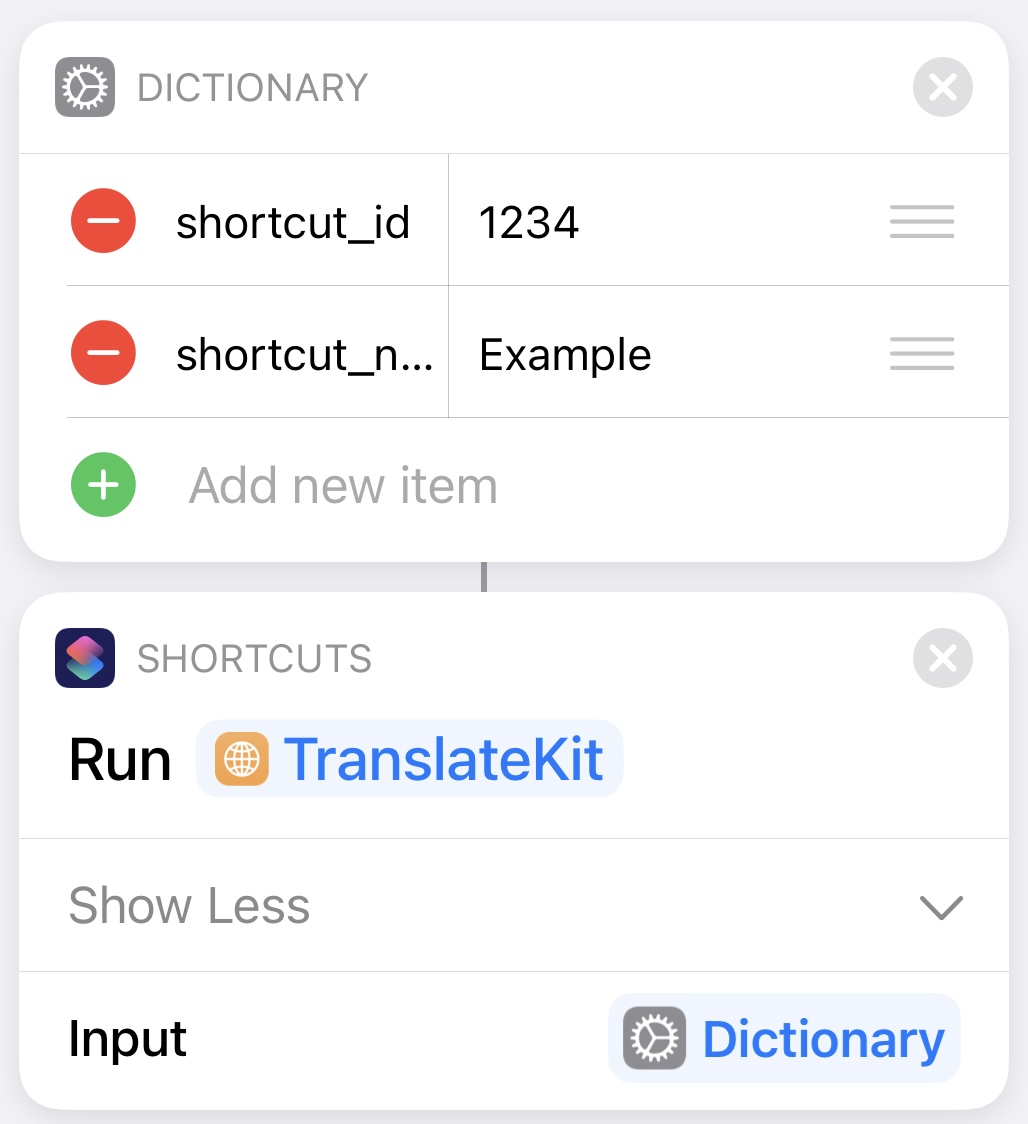
If they do have TranslateKit, use a Dictionary action with your shortcut_name and shortcut_id. On the first run, this will prompt the user to select a language for your Shortcut. Afterwords, first run or not, Run Shortcut will return the language the user has selected, if you’d like to confirm it. Keep in mind it will be returned in the users system language.
Here is a complete reference of the keys and values you can use in the Dictionary action.
- Indicates required key
| Key | Type | Value |
|---|---|---|
| shortcut_name * | Text | Name of your Shortcut |
| shortcut_id * | Number | Your Shortcuts RoutineHub ID |
| text | Text or Dictionary | Standard text or dictionary to translate |
| url | URL | iCloud file URL (e.g. your_Shortcut/localization.json). Method for inputting JSON from a url instead of a dictionary value. |
| progress | Boolean | Whether or not to show an alert before translating letting the user of your Shortcut know that translating your Shortcut may take a moment. |
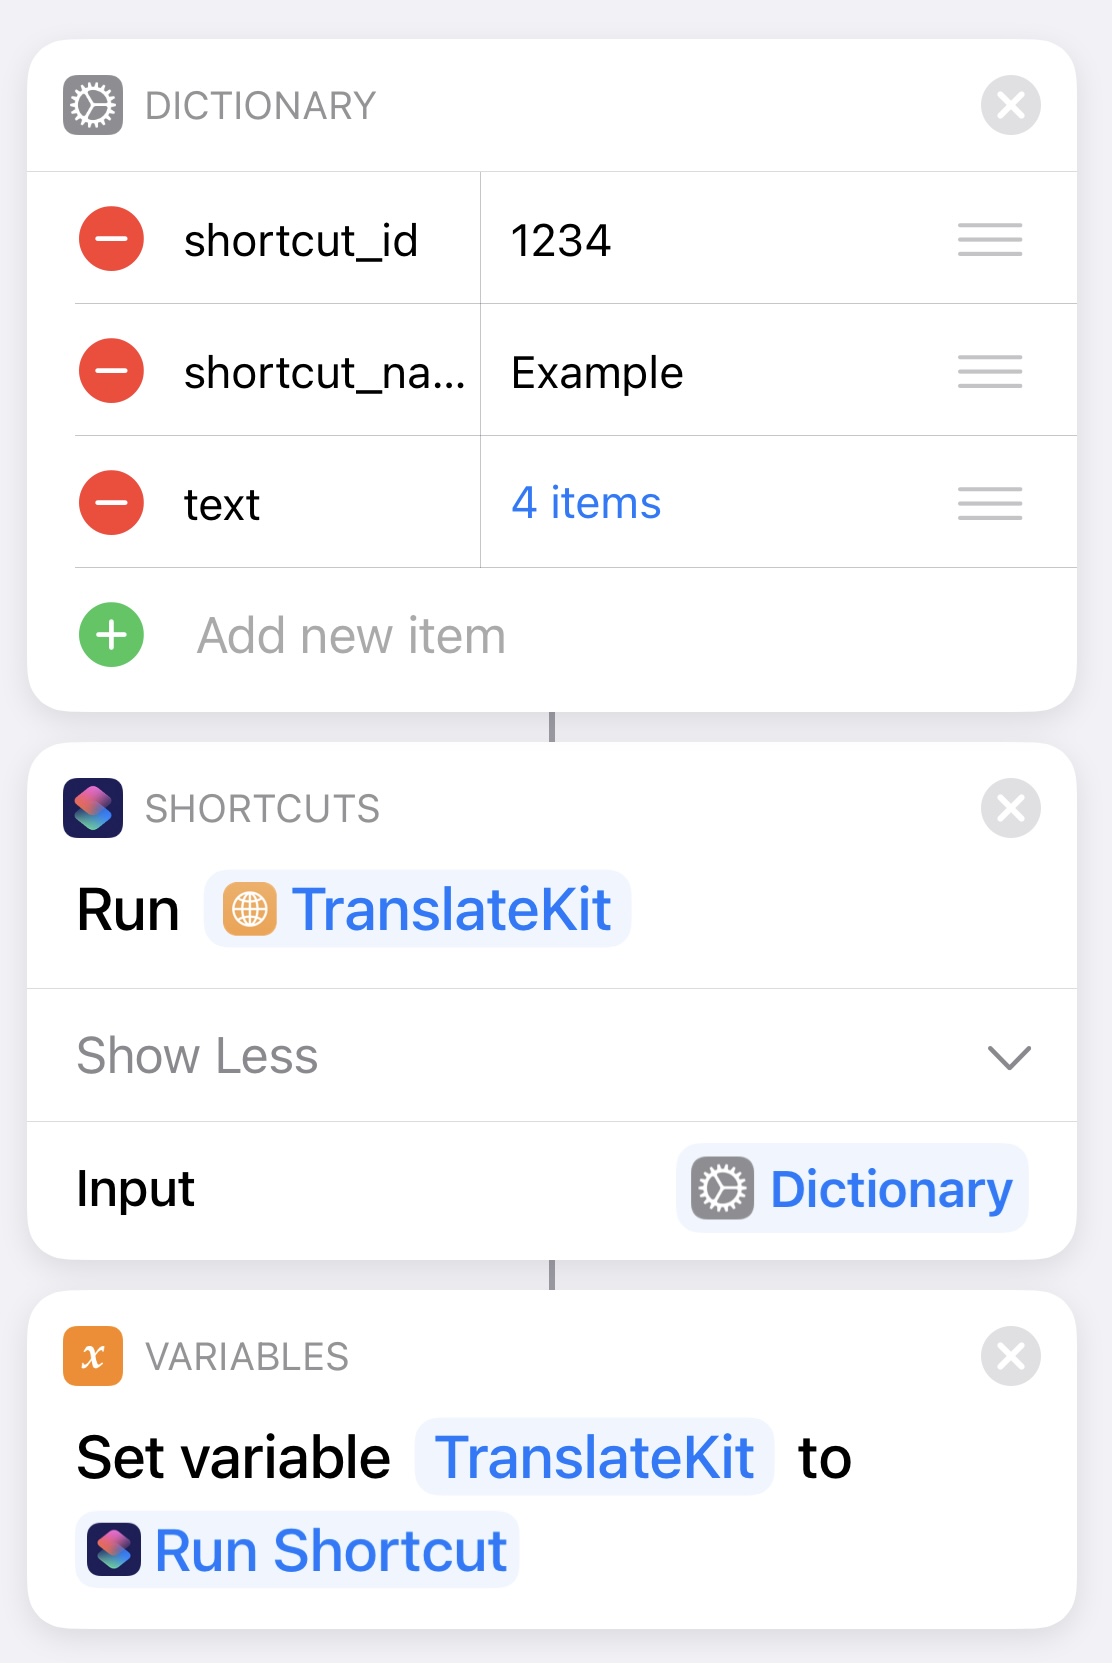
Then, after the End If, place another Dictionary, this time with the same keys, but a new key text. Set the type as a dictionary.
NOTE: Tap on the icon on the previous dictionary and press ‘Add to this Shortcut’ to duplicate the dictionary in your Shortcut.
You’ll notice it says ‘0 items’ in your Dictionary, tap on that and a dictionary editor will appear. Enter keys and values to use for menu items, prompts, dialogues, etc.
Tap on the variable. A menu will appear, tap on ‘as Text’, and select ‘Dictionary’. After it, use Set Variable, set the name of this as whatever you want, or just name it ‘TranslateKit’. This is the variable you will use to access the translated dictionary TranslateKit returns.
That’s it! You’re on your way to integrating TranslateKit into your Shortcut.
RoutineHub Badge
If you’d like, you can include a “This Shortcut requires TranslateKit” download badge at the bottom of your RoutineHub page. Paste the markdown below at the bottom of your page on RoutineHub.
[](https://routinehub.co/shortcut/2691)
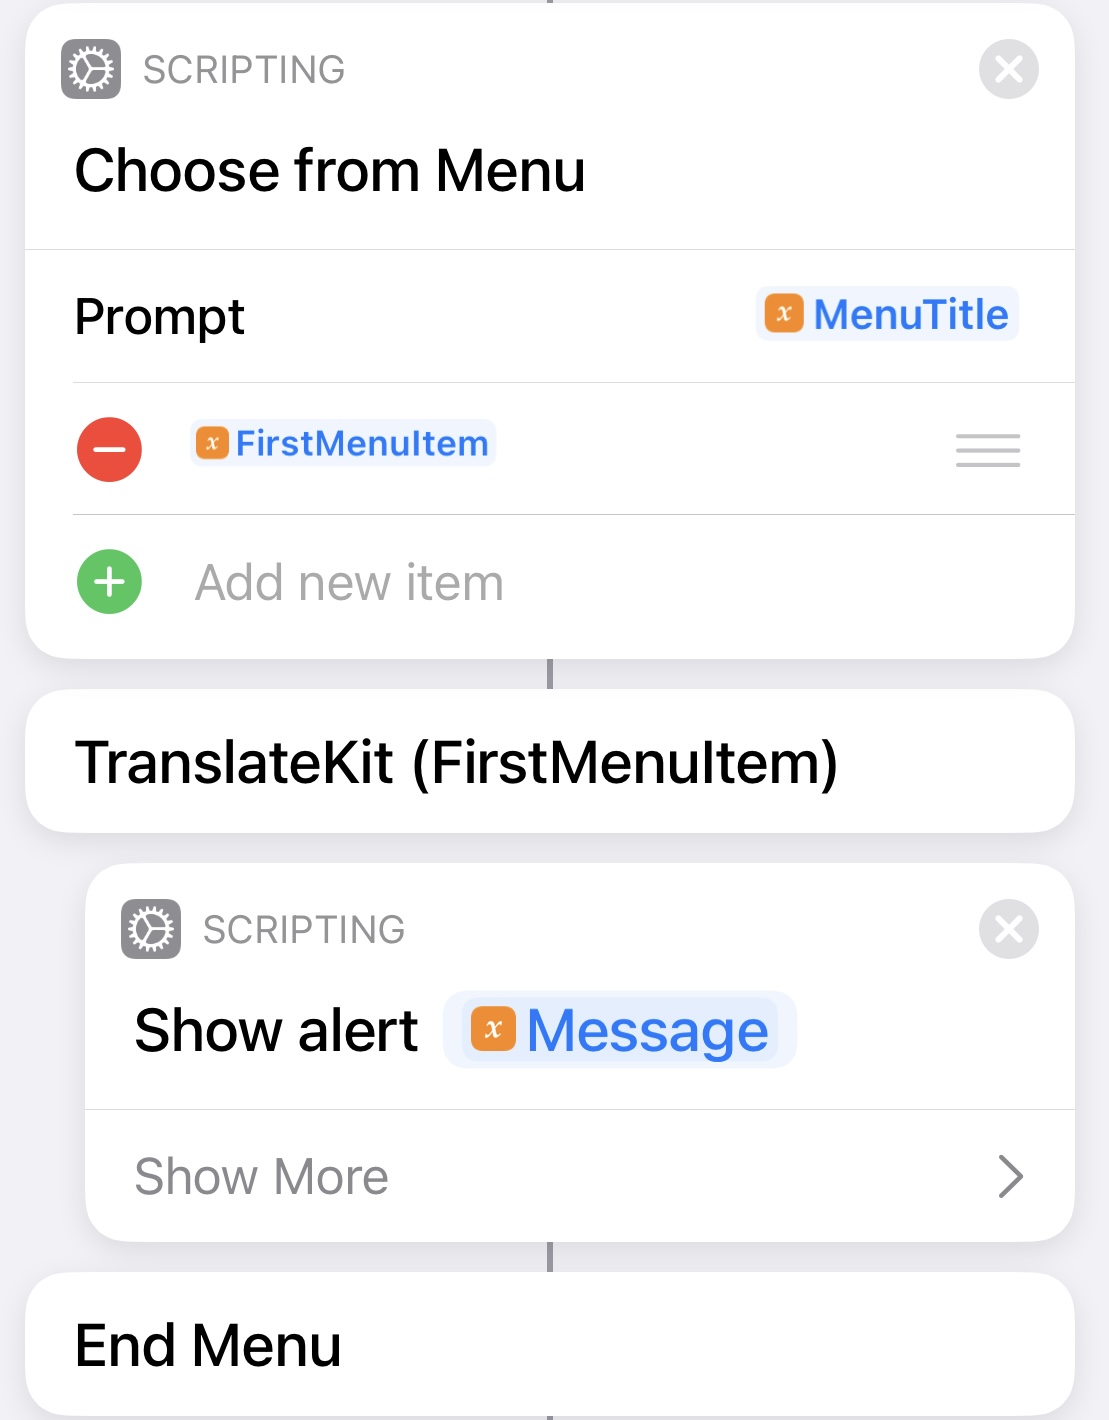
Example
